When it comes to setting up all of your equipment ready to stream, it can be a daunting process, especially if it’s your first time ever streaming.
A lot of new streamers worry about whether or not the audio quality of their stream is going to be able to compare with that of professional streamers.
But while you might not be able to afford the same expensive equipment as they might be able to, there are still plenty of ways to make sure your microphone for streaming setup sounds good!
So, if you’re looking to start your streaming career, and want to ensure that your microphone’s setup is going to be suitable, then just follow our guide and you should be sure to have the best microphone setup!

|

|

|
|
|
Primary Rating:
4.6
|
Primary Rating:
4.7
|
Primary Rating:
4.4
|
Primary Rating:
4.6
|
|
$79.50
|
$99.00
|
$129.99
|
$310.00
|
Before You Start
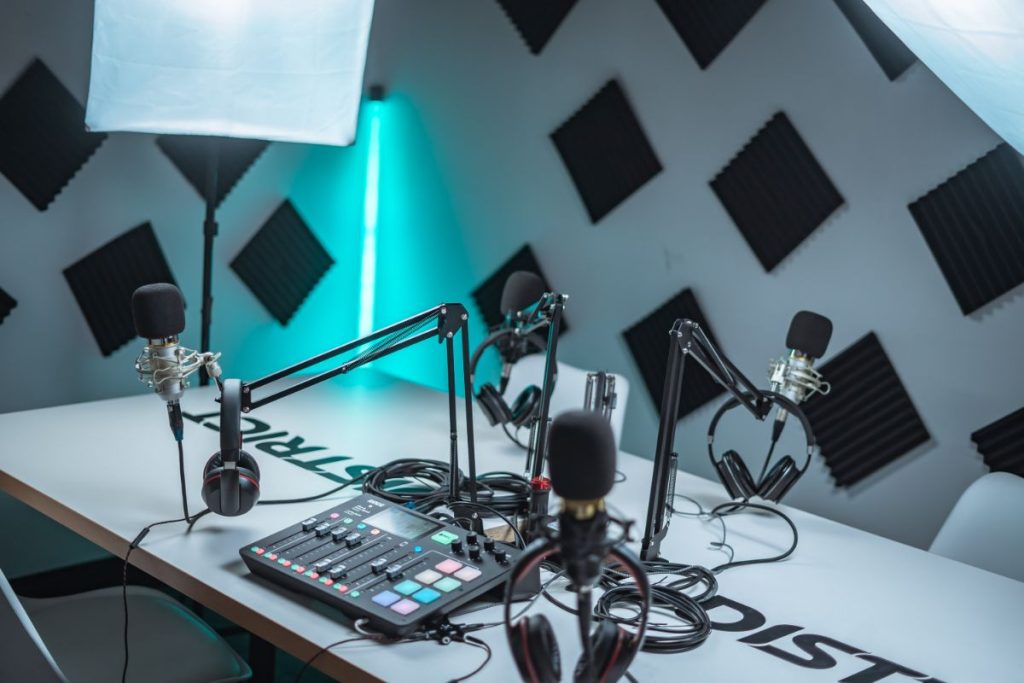
Before we begin looking at how to enhance your microphone’s setup, you should also ensure that the rest of your streaming setup is good.
You should ensure that you have a decent quality HD webcam, as well as a good lighting setup and most importantly, that you stream in a place that doesn’t have a large amount of background noise and is free from any interference, as this will allow you to focus on your stream without worrying that you’re going to be interrupted.
You should also ensure that your PC is able to withstand the demands of streaming, and also that you have a suitable gameplay recording software installed that you have tried and tested before you stream.
This is to ensure that when you begin your first stream you have as few problems as possible and that your content is of a good enough quality for people to watch, which will help you to retain viewers!
Picking A Microphone
The place to start with any good microphone setup is to ensure that the microphone you have is going to be suitable for streaming (also see, ‘Best Microphone For Streaming‘).
If you use a low-quality microphone then there’s a good chance that even if the rest of your stream is perfect, the bad audio quality will deter people from watching your stream for a prolonged period of time, so it’s important to get it right!
Even if you’re not clued up about microphones, don’t worry, as we’ll give you a short guide on how to pick the one that’s best for you and your stream.
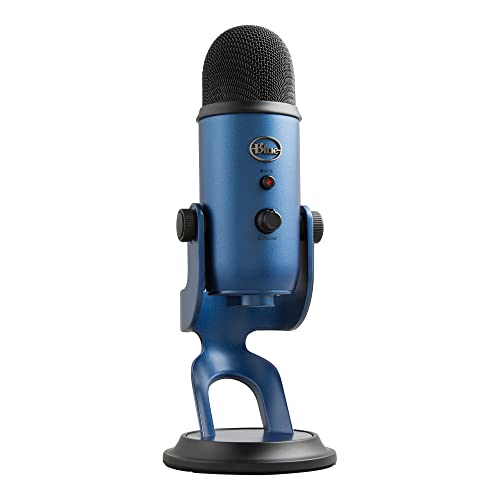
Typically, most streamers will opt for a USB microphone, as it’s fairly easy to connect them to your PC and will still provide a decent level of audio quality. USB microphones also offer more flexibility when it comes to controlling your sound (also see, ‘Best USB Podcasting Mics’).
A USB mic, such as a Blue Yeti USB mic, might be the best choice for most streamers, but if you’re looking for something a bit more professional, or want to achieve studio-level sound quality, then you should look into using an audio interface (also see, ‘Blue Yeti USB Microphone Review‘).
If you’re striving for the best audio quality, then you’ll want to opt for a microphone with an XLR cable, as this will provide much better sound quality.
The downside to XLR mics however is that they are much more expensive than USB mics, so if you’re an amateur streamer on a budget, there’s a good chance they’ll be out of your price range.
You will also need an audio interface with an XLR mic, such as the Focusrite Scarlett 2i2 or similar. Audio interfaces are not essential for streaming, but can provide a better sound and make life much easier when it comes to setting up your microphone.

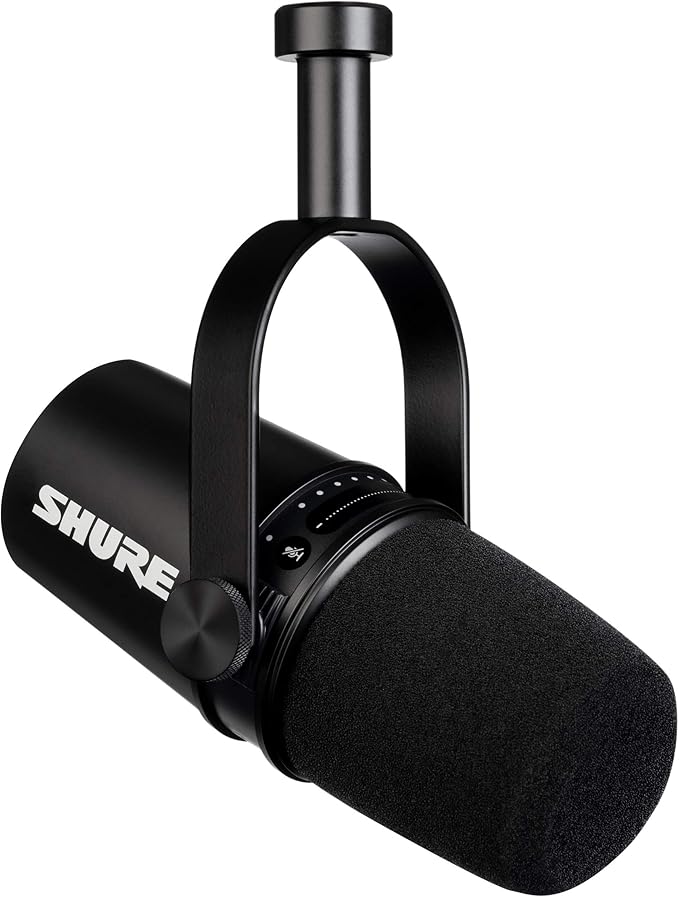
Our go-to recommendation for any new streamer looking for a quality microphone at a reasonable price is the Shure MV7, it’s a hybrid USB/XLR microphone that will be sure to provide you with the audio quality you want from a microphone without having to break the bank.
Ultimately though, you need to find the microphone that is going to be best suited for you and your needs.
Whether you simply use the microphone that is attached to your gaming headset, or you purchase extremely expensive XLR microphones, the choice is up to you!
Condenser vs Dynamic Microphones
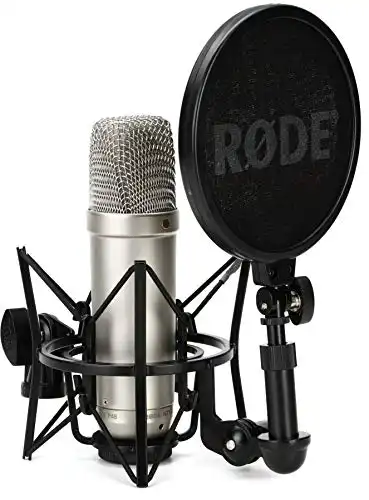
When it comes to choosing a streaming microphone, there are two main types that you’ll want to consider: condenser and dynamic microphones.
Condenser microphones are generally more sensitive than dynamic ones, so they can pick up more detail in your voice. This makes them ideal for recording podcasts or music, but not necessarily the best choice for streaming (also see, ‘Best Condenser Mic‘).
Dynamic mics on the other hand are better suited for streaming, as they don’t pick up too much background noise or static and can provide a fuller sound. They are also more durable than condenser mics, so you won’t need to worry about damaging them when you stream from different locations (also see, ‘Best Dynamic Microphones‘).
Microphone Arm
Once you’ve chosen your microphone, it’s worth noting that a lot of standalone microphones might not come with a microphone boom arm or a mic stand to hold them in place whilst you stream.
If this is the case, then it’s important that you get a good quality and flexible microphone arm, otherwise, you’ll find yourself leaning towards your desk in order to speak, or you’ll find that the microphone arm gets in the way as you’re trying to play a game, which can be a nightmare during the important moments!
So, be sure to get a microphone arm that isn’t going to clutter your desk or obstruct your view whilst streaming, but also one that allows you to speak into the microphone without having to raise your voice or lean in too much!

Audio Settings
In reality, the key to getting superior sound quality out of your stream isn’t necessarily down to your microphone, it’s more about the audio settings that you choose to use.
For this, you’ll want to use software such as OBS, which is what allows you to stream audio and visuals to places such as Twitch and YouTube.
Feel free to play around with the settings to your heart’s content, but here are some of the things we recommended you adjust in order to get a high-quality sound:
Audio Mixer
You should always begin with a microphone, and experiment with your voice at different volumes, from whispering to screaming, as well as the distance between your mouth and the microphone. The audio should always remain within the yellow parameter.
Noise Suppression
This will help you to get rid of any excess or background noise, which will drastically improve your sound quality.
This will be located in the “Filters” section on your microphone in OBS, and you should try to adjust it whilst you have something particularly noisy in the room, such as a vacuum cleaner.
Noise Gate
This is a filter that will help to remove the mouse clicks and keyboard noises from your stream sound, which your viewers will definitely thank you for!
Noise Gate can also be used to ensure that the microphone will only pick up your voice at a specified frequency response, so you can whisper to yourself without being heard if you’d like!
Summary
Overall, setting up your microphone as a streamer is one of the most important aspects of your complete setup, and it can be extremely tedious and time consuming, but it’s important that you get it right!


